|
1. |
On the start page, in the area Your bank access "<name of bank access>" has not been initialised yet, click on Initialise now. |
||||
|
2. |
Click on Start wizard. |
||||
|
|

|
||||
|
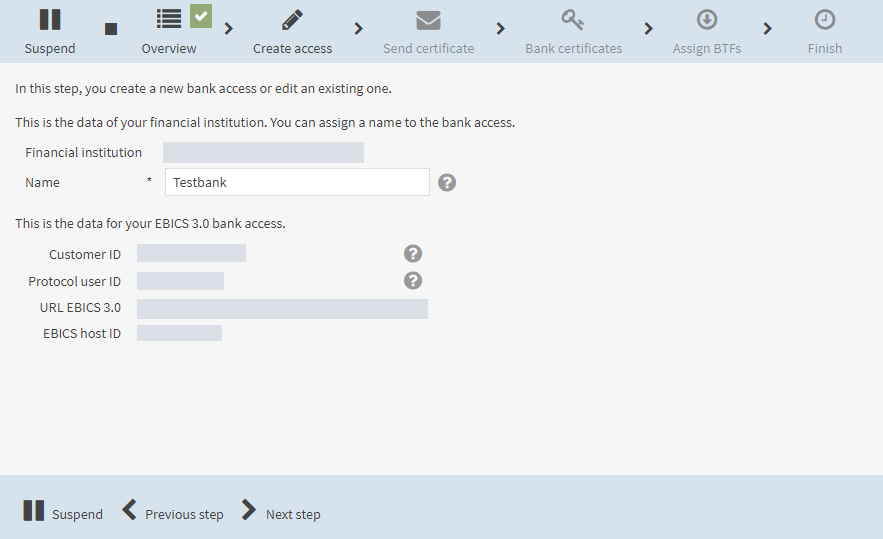
3. |
In the field Name, enter the name of the bank access. |
||||
|
4. |
Click on Next step.
|
||||
|
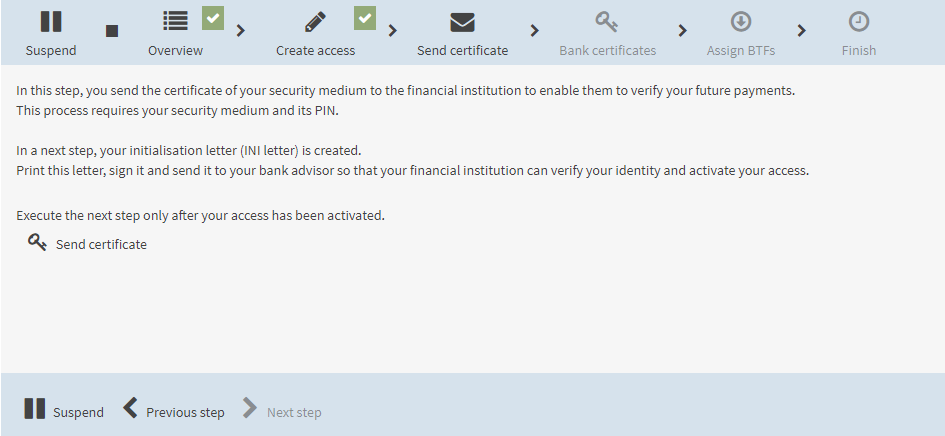
5. |
Read the information on the mask. To exchange the public keys with the financial institution, click on Send certificate.
|
||||
|
6. |
Confirm the sending of the certificate with your security medium. |
||||
|
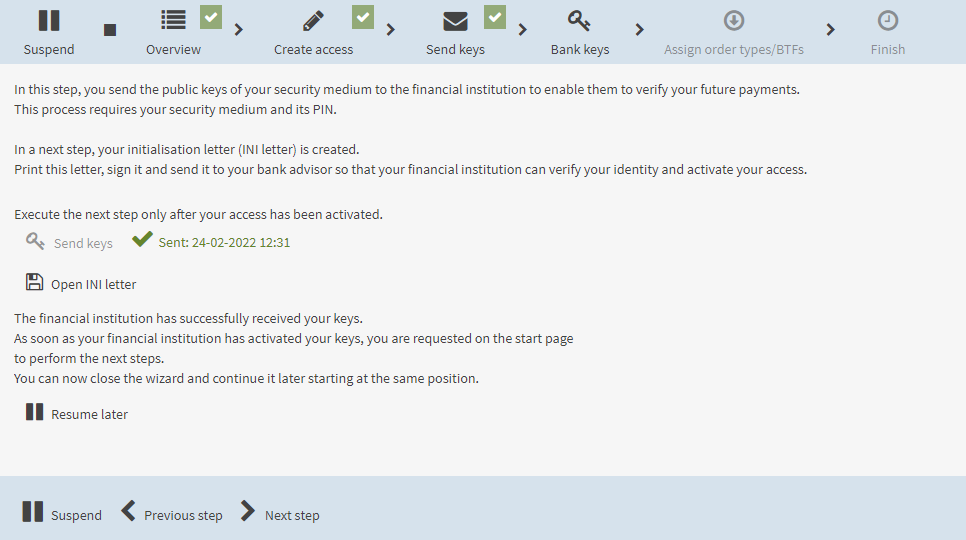
7. |
If this is successful, the INI letter is made available for downloading. Confirm the download with your security medium.
|
||||
|
8. |
Click on Open INI letter and save the INI letter on your computer. |
||||
|
9. |
Print out the INI letter, sign it and send it to your financial institution. |
||||
|
10. |
Click on Resume later. |
||||
|
11. |
Confirm the warning message with Suspend.
|
||||
|
12. |
Log in to the application. When your bank access has been activated you will be informed of this on the start page after you log in.
|
||||
|
13. |
Click on Continue now.
|
||||
|
14. |
Release the certificates. The operator of the application defines whether you activate the keys with or without a hash value check.
|
||||
|
15. |
Click on Next step.
|
||||
|
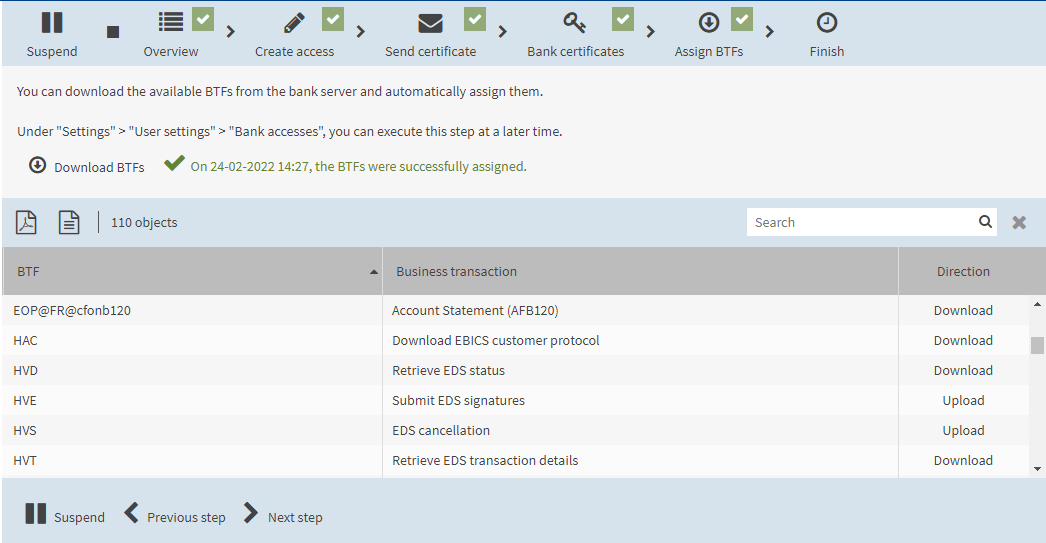
16. |
To download the BTFs assigned to you (i.e. your protocol user) at the bank server, click on Download BTFs.
|
||||
|
17. |
Click on Next step. Your bank access has been initialised successfully. You can use this bank access to execute business transactions that are assigned to you at the bank server, for example signing payment orders and transferring them to the financial institution. |
||||


|
If your bank access is assigned the EBICS profile EBICS-FR with the CFONB profile Submitting party profile (T), you cannot provide EBICS signatures, i.e. you cannot sign bank-technical orders. |
To subsequently change your bank access, e.g. assign ordering party accounts (not included in the standard scope of the application, see section Assigning ordering party accounts to a bank access), select , tab Bank accesses.
|
Bank accesses with EBICS 3.0 no longer support the bank protocol (menu ). You can find the information in the status overview (menu ). If you have changed your bank access from EBICS 2.x to EBICS 3.0, it is possible that bank protocol entries for EBICS 2.x were still downloaded prior to the change. You can still view these entries in the bank protocol. A note to this effect is displayed when you open the bank protocol. If you do not see a note, check whether you have permanently deactivated the note. Proceed as follows: |
 .
.